When it comes to hand-loading, education is key. Without having a base knowledge of how hand-loading works, you will have a hard time deciphering what components you will need when you first start reloading. The best place to start would be a reloading manual. Most reloading manuals have in depth explanations on components and how to use them that will help you tremendously on your path.
Some of the questions you might be asking yourself as a new reloader: Is it better to buy a prepackaged kit or buy the equipment needed individually? What items will need to be added which aren’t included in the most kits? We break it all down for you here.
What do most reloading kits come with?
Several manufacturers including Hornady, RCBS, and Redding offer a beginning reloaders kit. These reloading kits generally include the following items: a single stage press, powder thrower, scale, reloading block, sometimes a manual, hand primer, and brass lube. These will start you off on your handloading venture with the bare minimums to make handloads.
The single stage press will allow you to insert one reloading die at a time. Once your die is set to your desired depth, you can start processing your handloads one brass casing at a time. To elaborate, you will insert your resizing die first, screw it in into the press itself to the desired depth of the instructions included with your dies, insert your brass casing into the shell holder, and pull the handle to resize your brass. You will repeat this process for however many rounds you plan on loading. You will then screw in your other supplied reloading die for the next process of hand-loading.
The traditional supplied powder thrower and scale that is in most reloading kits will allow you to use a manual hand dial and a lever to dispense powder. You will then have to take that powder and weigh it on a scale to make sure that you are dispensing the correct amount. You can get by with the power thrower most kits include, but if you want to speed up the process with something that is faster and very accurate, you may want to upgrade to an electric powder dispenser.
The reloading blocks that come in kits are great. A block will allow you to line up your cartridges individually and upright for different stages of the reloading process. If you don’t feel like purchasing a reloading block, you can make your own with a block of wood and a drill press.
If you reload, you have to purchase a manual. This will give you all the data about how much powder should go into the ammo you are making, how long the cartridge should be, what types of bullets you can use, and other great data.
Here’s a list of a few manuals that you would like: Nosler Reloading Guide , Berger Bullets manual, and Barnes Reloading Manual. However, I recommend purchasing a reloading manual that correlates with the projectiles you plan on using to look at the most accurate data.
Hand primers are a great tool and are usually in most reloading kits. This will allow you to insert a primer into the base of your brass cartridge when it is time in the reloading process. There are many forms of priming mechanisms that include hand primers and bench mounted priming systems.
This will lube your brass so that it won’t become stuck inside your dies.
Things Not Included in Most Beginner Kits
Most beginner kits do not include a vibratory tumbler, calipers, case gauge, dies, a chamfer and deburring tool, an annealing machine, or a trimmer. The first additional item you will need to acquire will be a set of dies for the cartridge you will be reloading for.
Dies are used to resize your brass back to spec, neck resize, crimping, and even putting a “bell” on your pistol cartridges that allow easier seating of projectiles. However, there are many different types of dies and procedures you would use them for. I recommend using a full-length die size kit for you to get started. When you get used to hand-loading, start investing your time into researching new types of dies and how they can benefit the cartridges you load for.
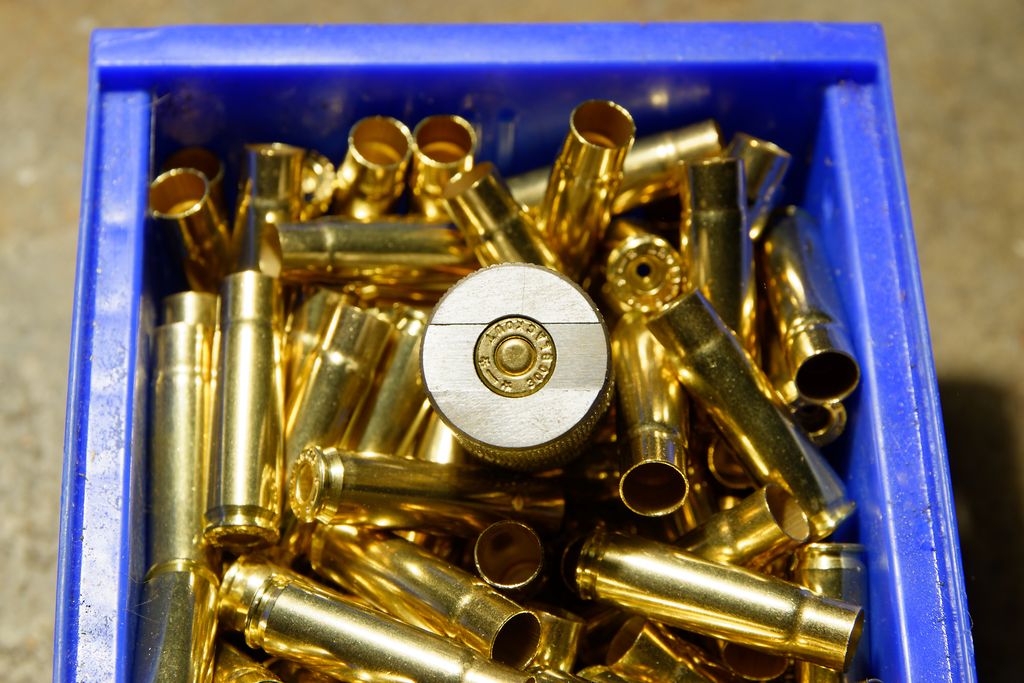
A vibratory tumbler is used to clean brass if it is dirty or has other types of residue and debris inside. A lot of kits will give you everything you will need to clean it out. Moreover, once your brass is shiny and clean, you can than start to resize the brass. This will also help the longevity of your dies so that residue does not build up inside. This is a very important piece of equipment you will need when processing once fired brass or range pick-ups.
You can upgrade to a wet tumbler or even an ultrasonic cleaner in the future. Dry tumblers traditionally use corn cob media and a polish. Wet tumblers use stainless steel media, water, and a polish. Ultra-sonic cleaner uses hot water, vibrations, and solvent. It’s essentially a hot tub that uses vibrations to remove carbon and any other debris.
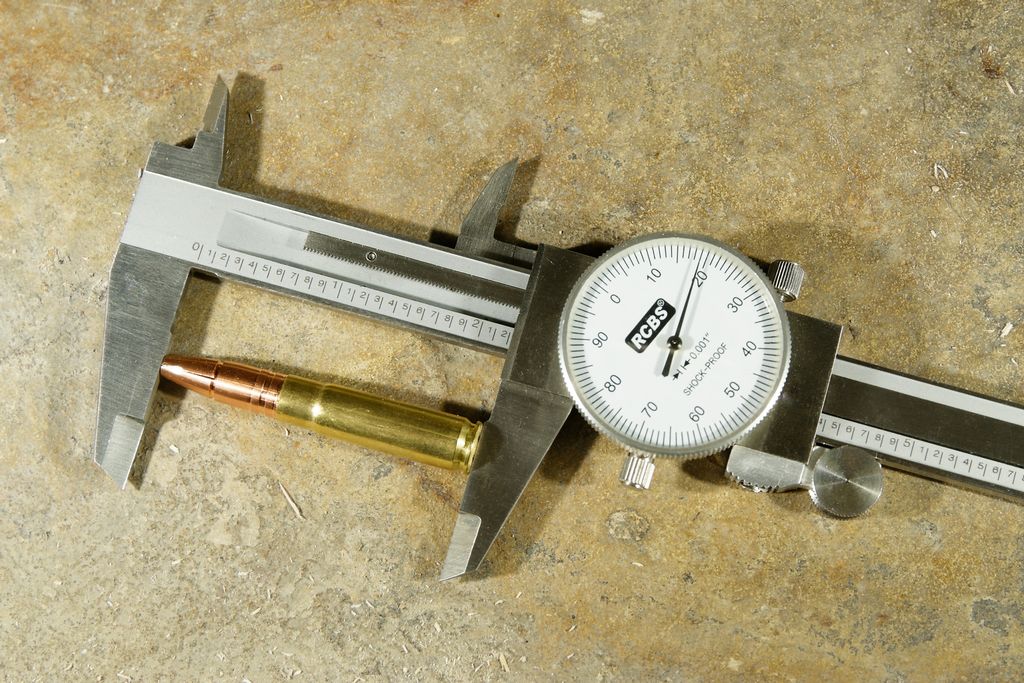
Calipers - In your reloading manual, it has requirements of measurements pertaining to what cartridge you are making. For example, how long the cartridge should be from bottom of the base to the tip of the projectile you seat. Moreover, this is known as O.A.L, which stands for Overall Length. This tool will help you measure your rounds.
The calipers that come in kits are usually pretty good. However, the digital ones will require you to replace the battery. There are very few on the market that make excellent electronic calipers, but they tend to be expensive. Old fashion calipers are the way to go and are always very accurate.
Case Gauge - A case gauge is essentially going to tell you whether or not your reloads will be able to fit inside your chamber. What is so great about this tool is the fact you can check your first reload once you have completed it. That way, if you make a hundred reloads without using one of these and hit the range, you won’t be disappointed when you find out all of your reloads were not made correctly.
A Chamfering and Deburring Tool is a great tool to use after trimming and resizing your brass in your die. It will allow you to put an “edge” on the inside of your brass case mouth so that you may freely seat a projectile. Otherwise, you will have trouble seating your projectiles. In most cases, as you seat the projectile without chamfering and deburring, you will see that copper from the bullet is being shaved away from the rough edge of the brass casing.
Trimming is most time-consuming part of reloading and one of the most important. You will have to trim your brass because over time, and multiple reloads, your brass becomes longer and out of spec. A trimming tool will allow you to trim your brass when it is becoming too long. You will measure this using your calipers and compare your measurement with the data inside of your reloading manual.
When it comes to trimmers, there are very many on the market for the reloader. They have hand cranked, hand drill, and motor operated forms of brass prep stations. I personally recommend a hand drill or motor operated brass trimmer. However, there are some hand crank trimmers that are more accurate then most hand drill or motor operated. Some hand operated brass trimmers have accessories to add a motor on it.
Annealing is a great addition to any bench and also a great investment. The reason hand-loaders anneal brass is extend its longevity. Overtime, as you shoot reloads and resize brass, the brass casing starts to get harder and crack. If you anneal your brass casing, it will soften the neck area of the brass and seal the areas during firing. Hence, extending the longevity of your brass for further reloads. If you want to find out more about it, you can read more here: https://www.reloadingallday.com/home/what-is-annealing
Equipment I personally recommend if you plan on making your own kit:
If you plan on buying everything separate, I have listed the components that will get you off to a great start. Keep in mind that reloading products is like shopping for a new gun. You want to look everywhere for prices. Make sure you compare components, look at reviews, and decide on which is the best set up for you.
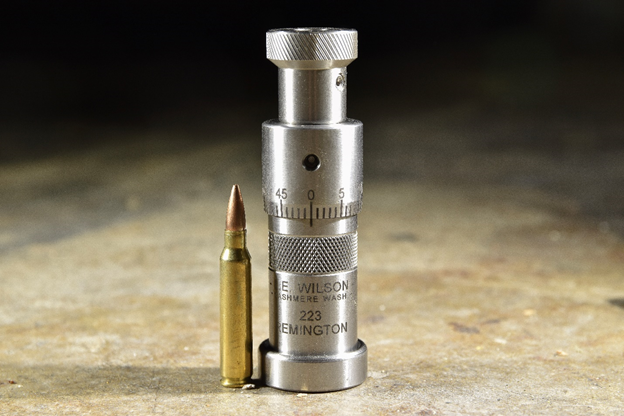
For the beginner, I personally recommend the Sinclair/L.E. Wilson Hand Die Kit W/Micro Top. This will be a very easy beginner press. Not only is it the most affordable, but this will allow you to make all of your ammo. This is the most important thing you should acquire first. I personally own and use Forster COAX, Dillon 550RL, Dillon 650XL, Lee Classic Cast, and L.E. Wilson hand dies.
Manual or electronically operated throwers all have their benefits. Moreover, it is entirely up to the individual which one they would like. Electronic forms will tend to be a little more expensive compared to manual. I will say that manual forms of powder throwers can be more accurate than electronic dispensers depending on which brand you choose. Most of all, do your research and pick accordingly.
I personally recommend the RCBS Chargemaster Lite. Essentially, this machine will allow you to enter in a desired amount of powder that will be electronically dispensed and weighed all at the same time, greatly speeding up the powder measuring process.
Reloading manuals are an essential, you must have one. I recommend choosing a manual that correlates with your projectiles that you are shooting. So, if you are reloading Hornady projectiles, you should look inside of a Hornady manual for the most accurate data. However, load manuals all have their differences. You should acquire a few different books and compare data.
I use RCBS, Dillon, Lee, Forster dies. I personally like full-length resizing dies. However, I recommend that you do your research on full-length and neck resizing dies.
I personally use RCBS and Mitutoyo.
6. Vibratory Tumbler
I use the Lyman 2200 Auto-Flo, Frankford Arsenal quick-n-ez tumber, Hornady Hot Tub, Frankford Arsenal wet tumbler, and a Thumlers wet tumbler.
I usually prime on my press, but I have Lee precision Auto Prime and a Sinclair International.
Case gauges are an awesome tool like I previously have mentioned. I have a plethora of different case gauges. L.E. Wilson, Lyman, Hornady, and EGW all make great gauges. Any case gauge you choose, make sure to read the comments and reviews. I have never had a problem with any of mine. They are always very accurate.
I recommend the L.E. Wilson Stainless Trimmer because of its accuracy and cost. I use this all the time when trimming 6.5 Creedmoor Starline Brass and it cuts like butter. I have a few, but I recommend something with a motor or getting a motor attachment. After hand cranking a hundred pieces of brass your hand will start to cramp. It is definately a helpful tool to have a motor, but you can use the trimmer just as effective without one. I personally own the RCBS brass prep station, L.E. Wilson hand trimmer, Lyman hand trimmer, and a Little Crow Gunworks.
I personally like the L.E. Wilson Chamfer and Deburring tool. However, there is many on the market and they all perform perfectly.
I use Hornady and my own homemade recipe. If you would like to save some money, try researching homemade brass lube.
I use the Bench Source annealer. There are very few on the market. The majority are within the $275-500 range. Then, they will jump up to around a $1000 or more. The cheaper options use a butane torch, while the more expensive options use induction heating methods to anneal the brass accurately to the right temperature.
Piecing together your own reloading kit is one of the things I wish I had done earlier. However, I do recommend taking a look at some of the reloading kits on the market. You can definately start to reload with the items given to you. Although, it is up to you as a reloader if you decide to pursue the other reloading components I have listed to make things a little easier.
If you do decide to make your own set up, I highly encourage you start your research with what reloading press would fit your style of shooting. I advise comparing the two together for cost, longevity, performance, maintenance, and warranty.
As always, be safe, shoot straight, and happy reloading!
About the Writer:
Blake Williams
Blake started hand-loading at the age of 14 when he received his first reloading kit. From that moment, reloading has influenced his whole shooting career with the endless possibilities of what this art brings to the table. He enjoys reloading with his friends and shooting whenever he gets the chance. Blake has been dedicating his life to influencing younger generations to learn about hand-loading so the great hobby lives on forever. He has worked with multiple industry partners pursuing this dream and now currently runs an educational website featuring reloading information.